THE LED PROJECT
(Exploring the possibilities of LED edge lighting acrylic combined with the programming of Ardiuno.)

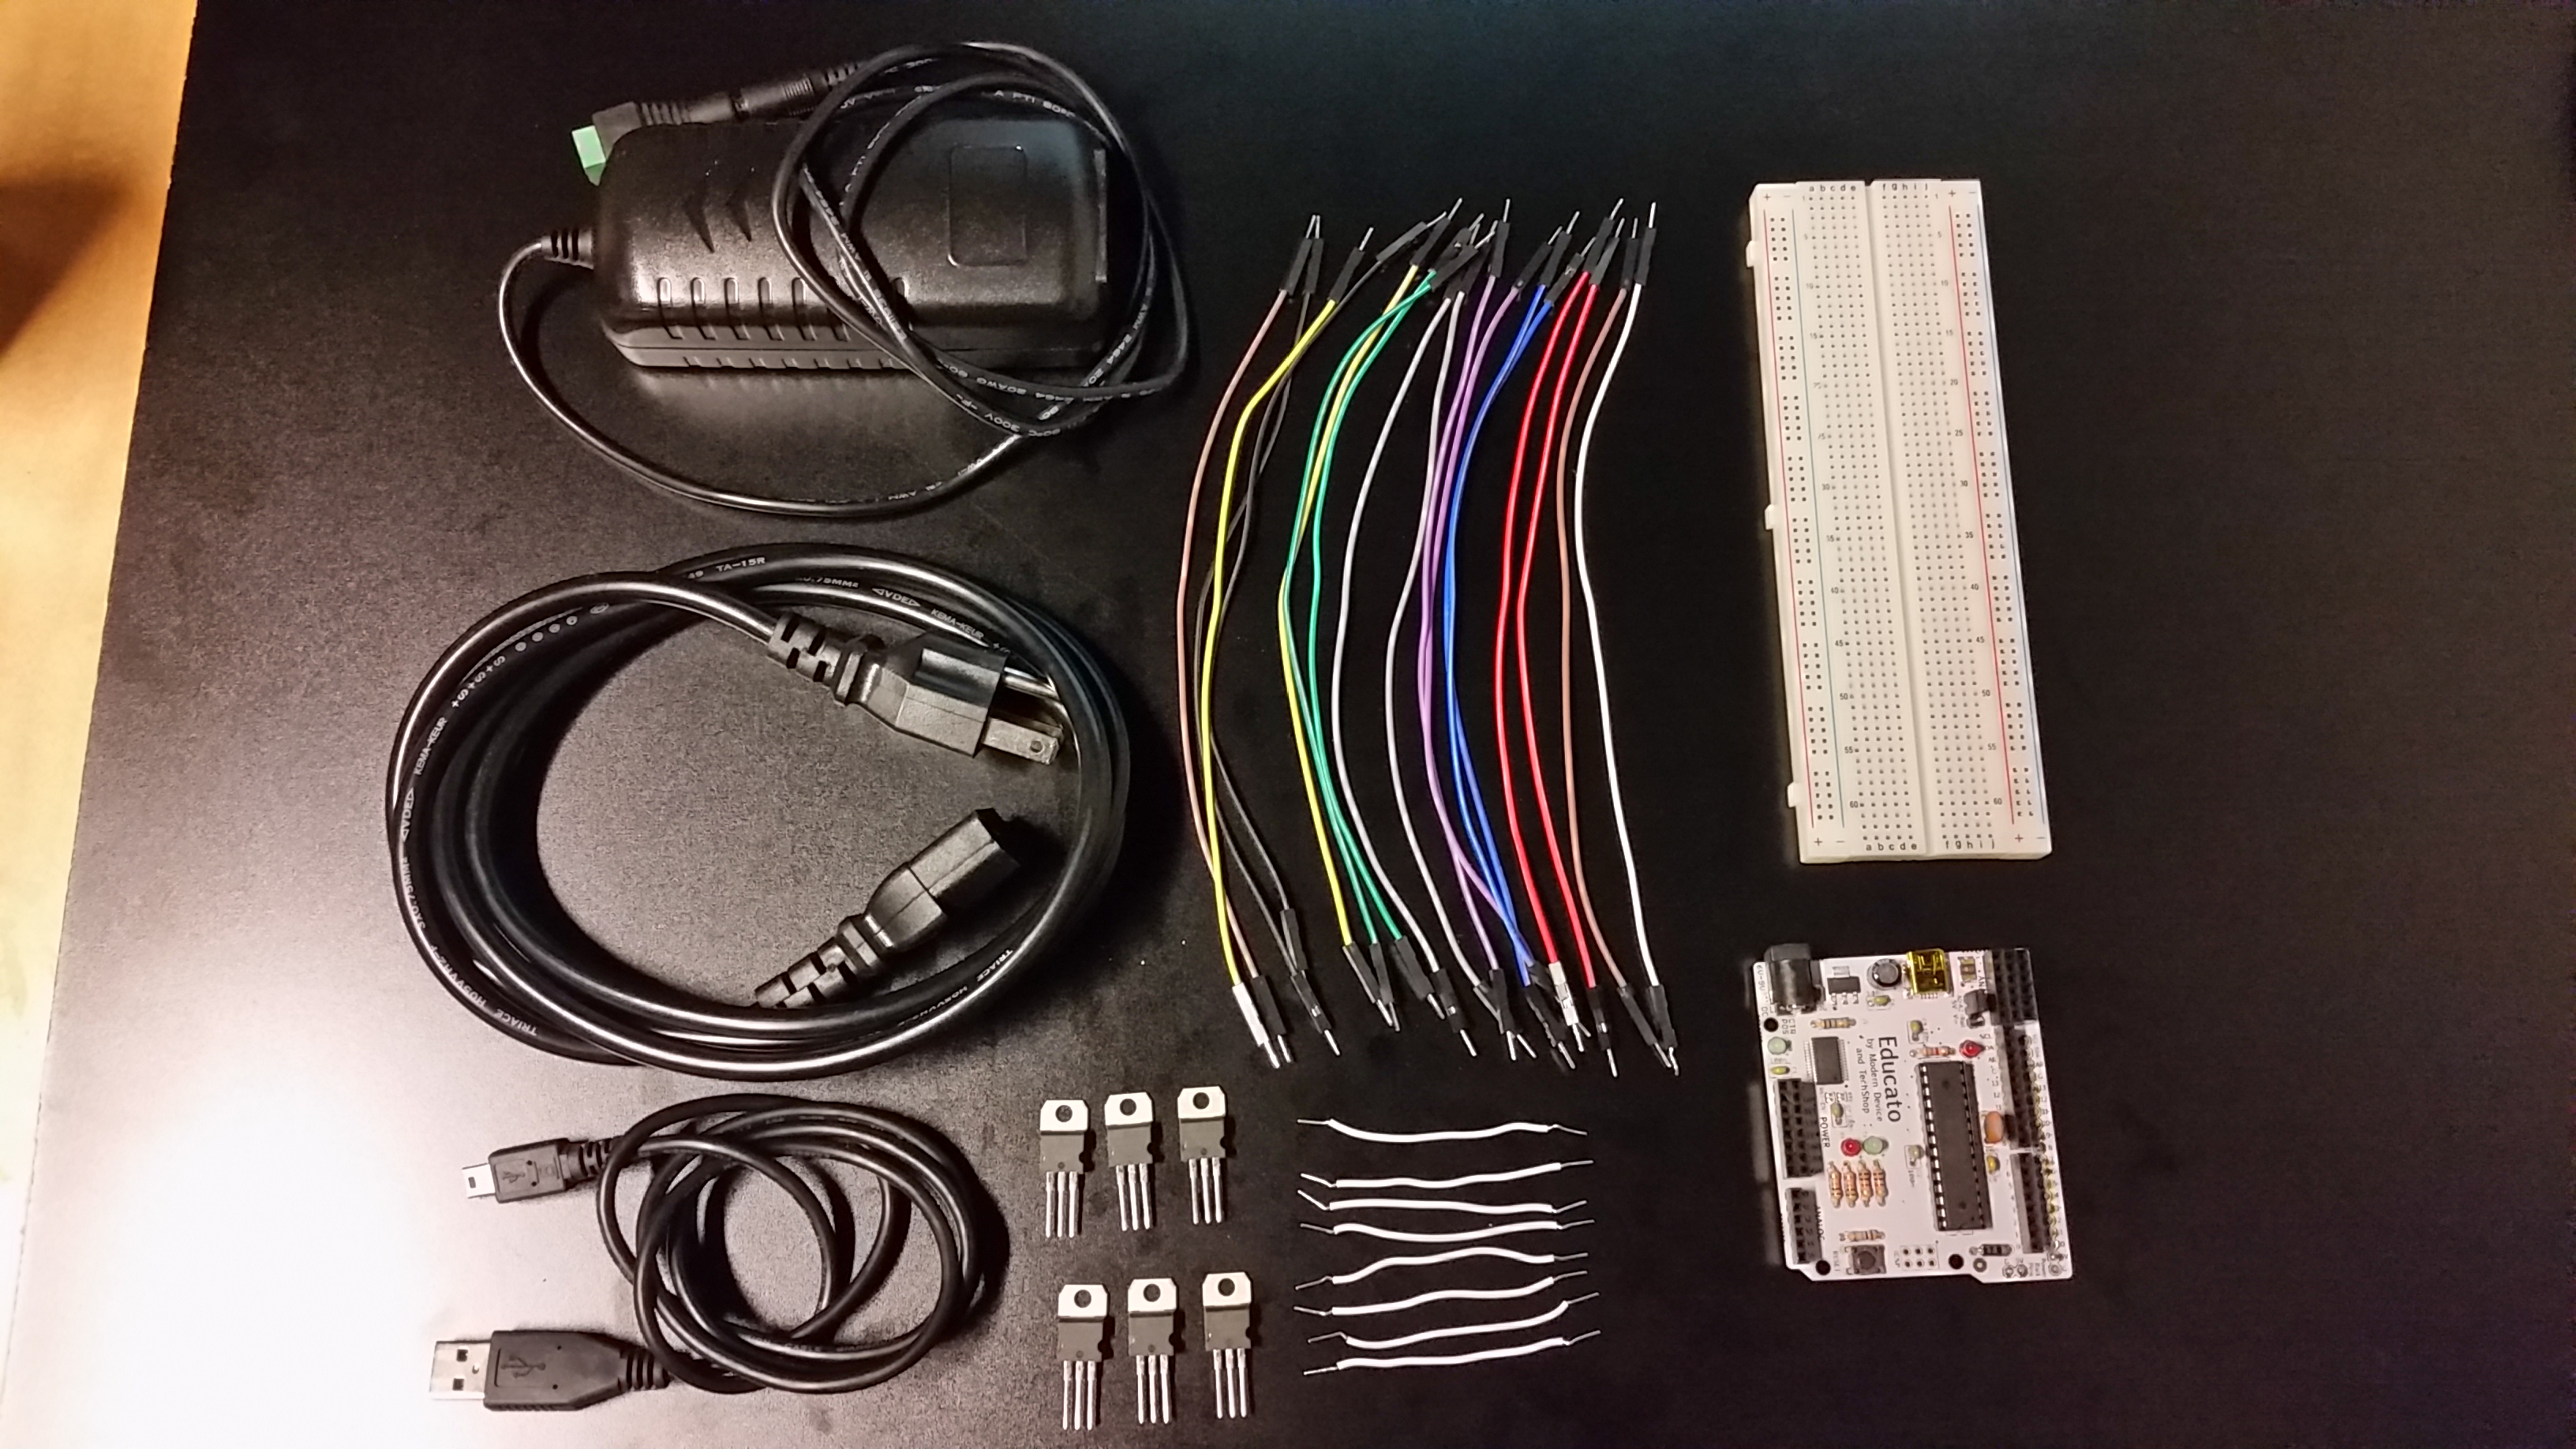
This was day one at learning to work with an Arduino with LEDS. This was also the day that got me hooked on wanting to learn more and more about how LEDS work with coding a Arduino. Its far harder than plugging in a already pre-programmed remote to control lights.
-2/1/2016-
(Press image to see video)

This was day two of learning how to program RGB LEDS with an Arduino and finally introducing clear acrylic panels that were etched using a Universal laser.
-2/2/2016-
(Press either image to see video)

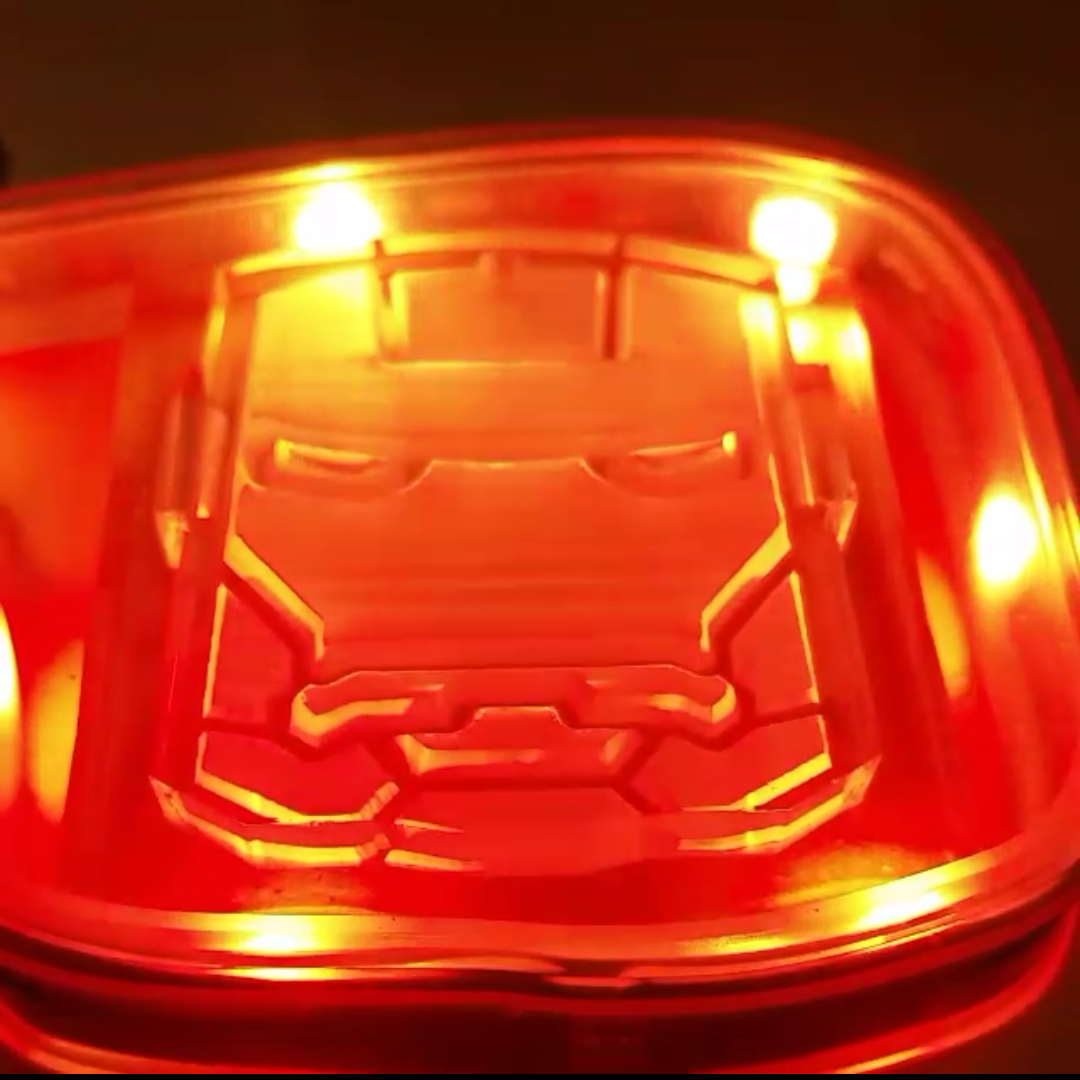
My 3rd day comes with with much success as I was able to finally connect the appropriate connections using 6 Mosfets on 2 LED strips one for each RGB color that allow me have more control with the LEDS. Not only did I introduce 2 LED strips working together but I also have introduced 2 acrylic panels and to create depth. This was also the day that I was able to successfully code both LED strips to be specific colors.
-2/14/2016-
(Press either image to see video)

-2/25/2016-
(Press image to view video)

-2/25/2016-
(Press either image to see video)

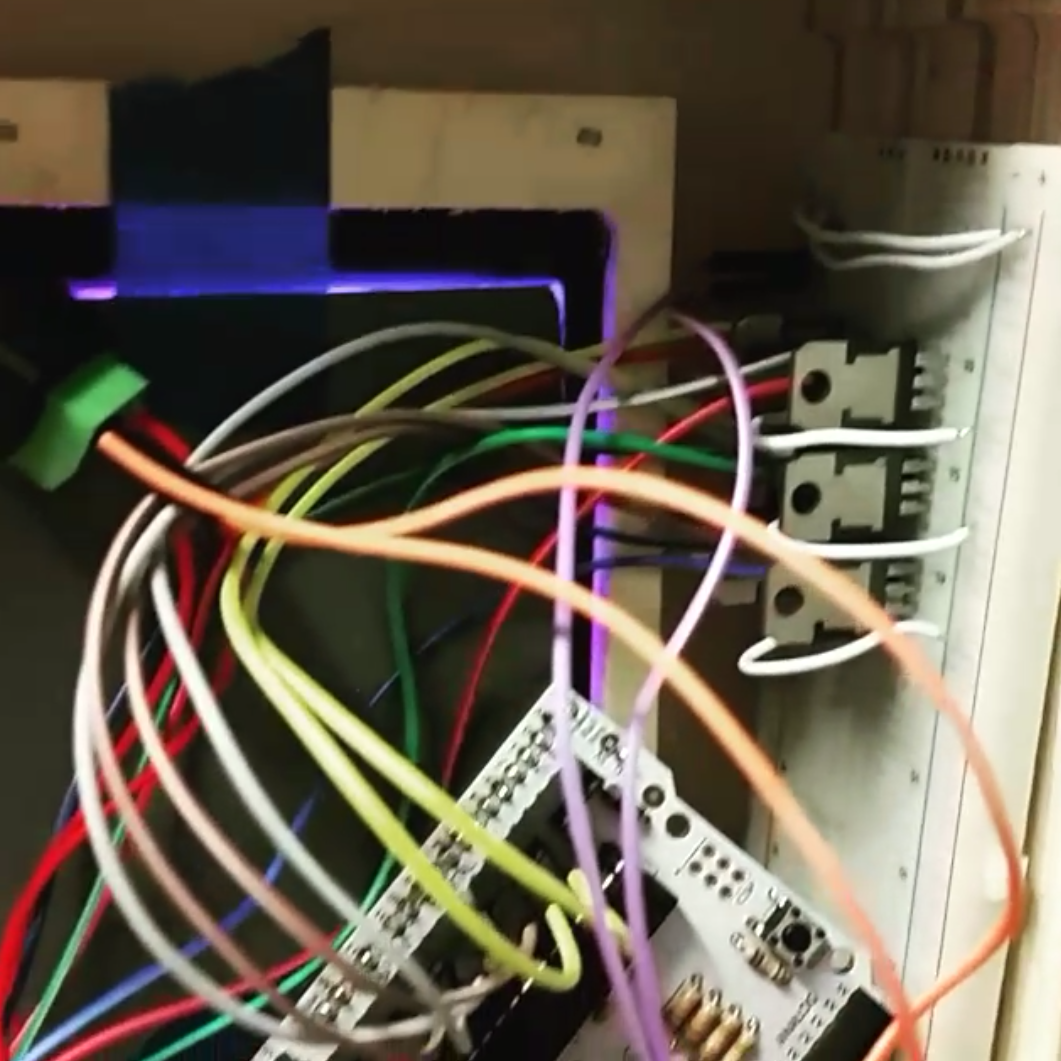
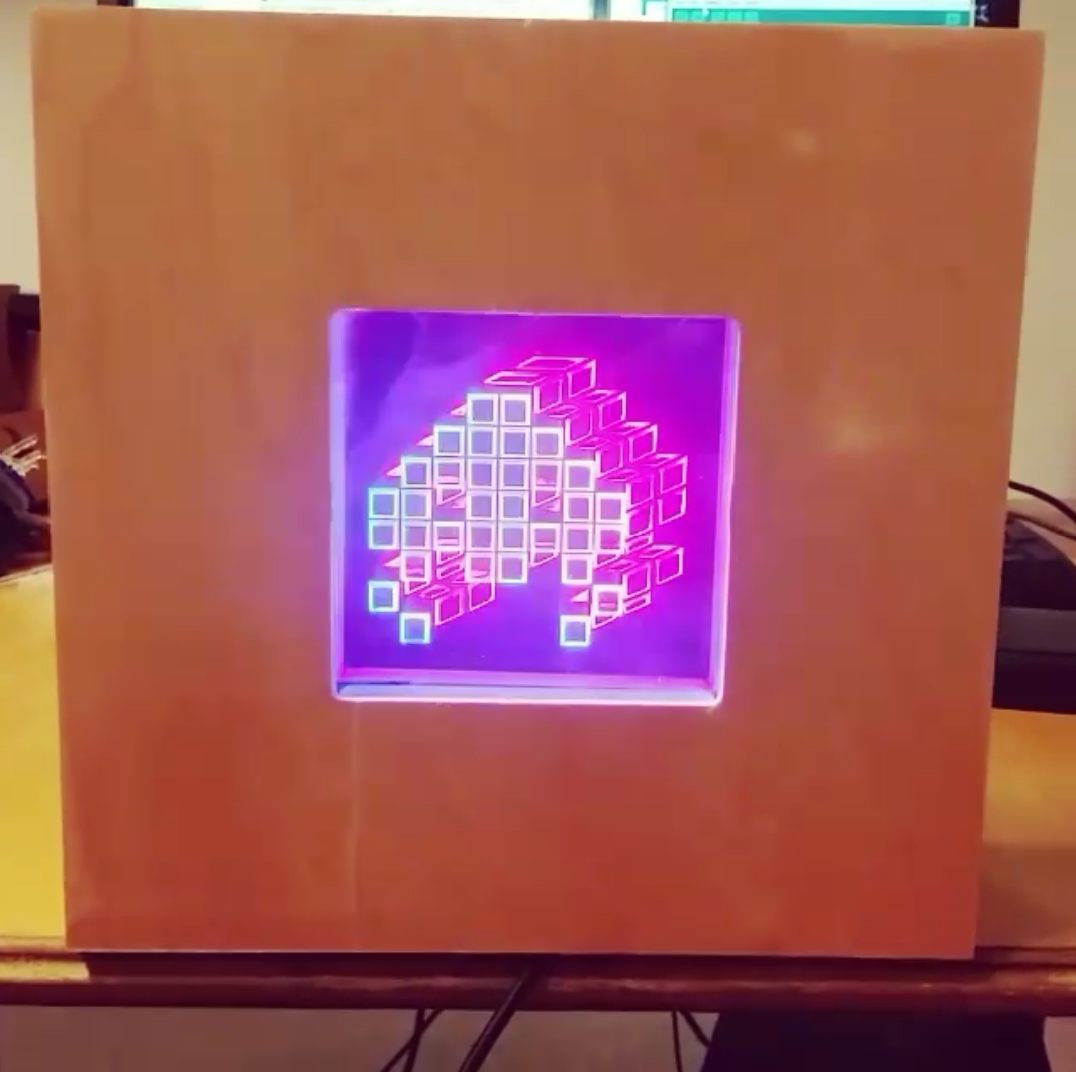
Frame is almost complete with enough room to hide all the electronics, wires and circuit boards. As for the acrylic panels they are snug inside the center frame. All that is needed is to make enclosure boxes for the electronics and get a perf-board to solder all cables to be permanent. And to cap the back of the frame with a clear piece of acrylic so people can see the insides. The prototype of this project is nearly almost complete.
-2/27/2016-
(Press either image to see video)
I now have figured out the Arduino code to have 3 different lighting behaviors of the RBG LEDS. First one is just red and blue being static, the second one is red off and blue on alternating back and forth and the last is red and blue fading into each other. This project started nearly a month ago and from that month to now, I have learned so much about Arduino and working with RGB LEDS. This prototype is nearly complete with only a few things that need to be completed. The actual video is does not show the true effects that the LEDS have on the acrylic panels, but you get the point.
-2/27/2016-
(Press image to see video)


-3/4/2016-
(Press the images to view the large versions)


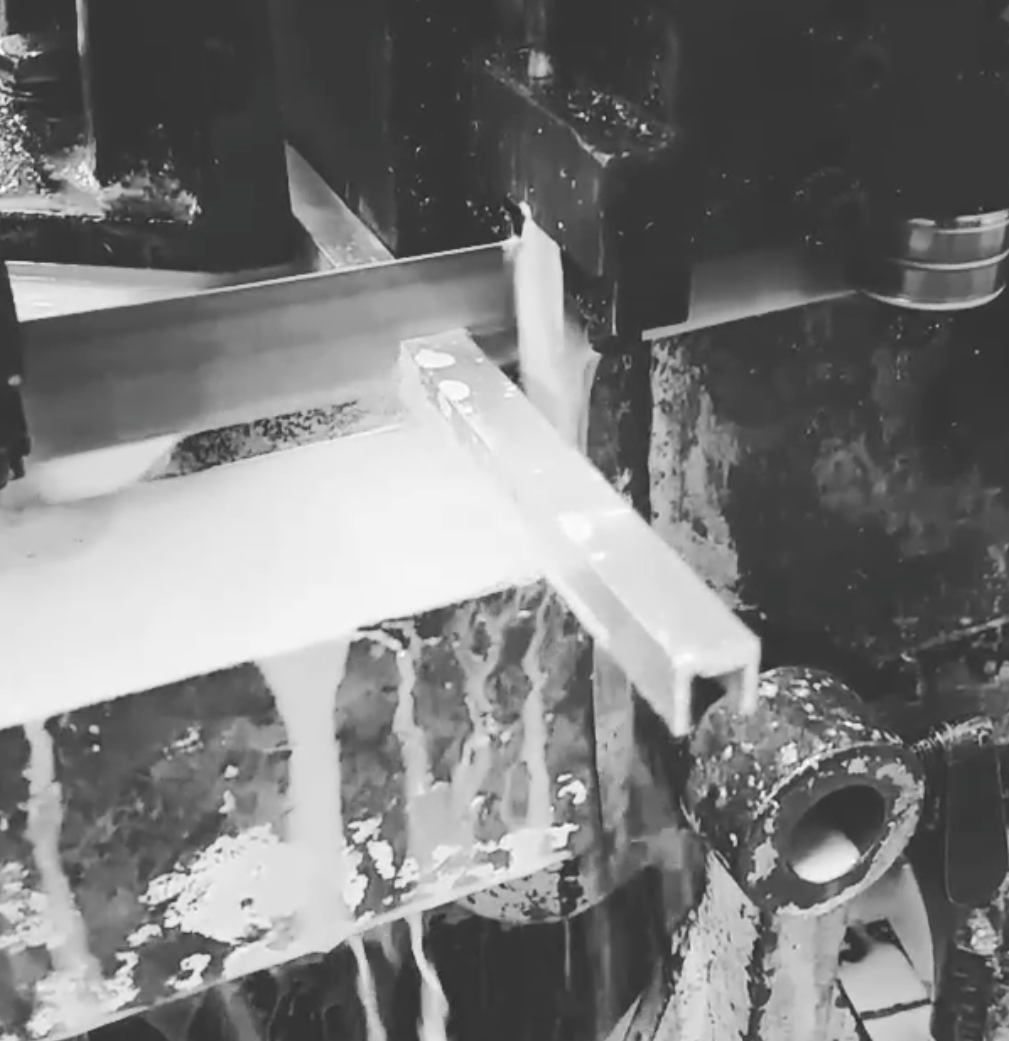
Once I was pleased with a few Hexagon geometric patterns it was time to use the Universal Laser to etch them and cut them into 3 separate .35 in. thick clear acrylic panels. After completing the pattern on the left, I realized with the pattern being so small that its really hard to see all the panels. So with the pattern on the right I focused less on an overall pattern and broke down the Hexagon shape to a simple design and then copied and rotated the design to make 3 replicates to generate the over all design/pattern. After completing the second pattern, the idea of using a panel from the first design to serve as a background came about. Much to my surprise, I definitely enjoy having a background panel to help push the foreground more out. Next up, is getting the Arduino Mega board that will allow me to have up to 5 acrylic panels being lit.
-3/5/2016-
(Press the images to see the videos)